Building an AWS Lambda through AWS Console and Visual Studio
One of the most useful services available in AWS is Lambdas. A Lambda is a serverless app that can be used to run custom code manually, on a set schedule, or when a separate AWS service triggers it. Lambdas are especially useful when you need to schedule actions to run on one of your apps. I will show you how to create the Lambda through the AWS Console and how to build and push the code using Visual Studio.
Create an AWS Lambda through AWS Console
Creating a Lambda through the AWS Console is very simple. To do this, you first need to login through the AWS website (you can create a free account for development purposes). Once you have logged in, make sure you are in the region that you want the Lambda to run in (it is possible to have a Lambda access services in a different region, but that is beyond the scope of this tutorial).

Once you
are in the desired region, select Lambda in the list of services. Here is
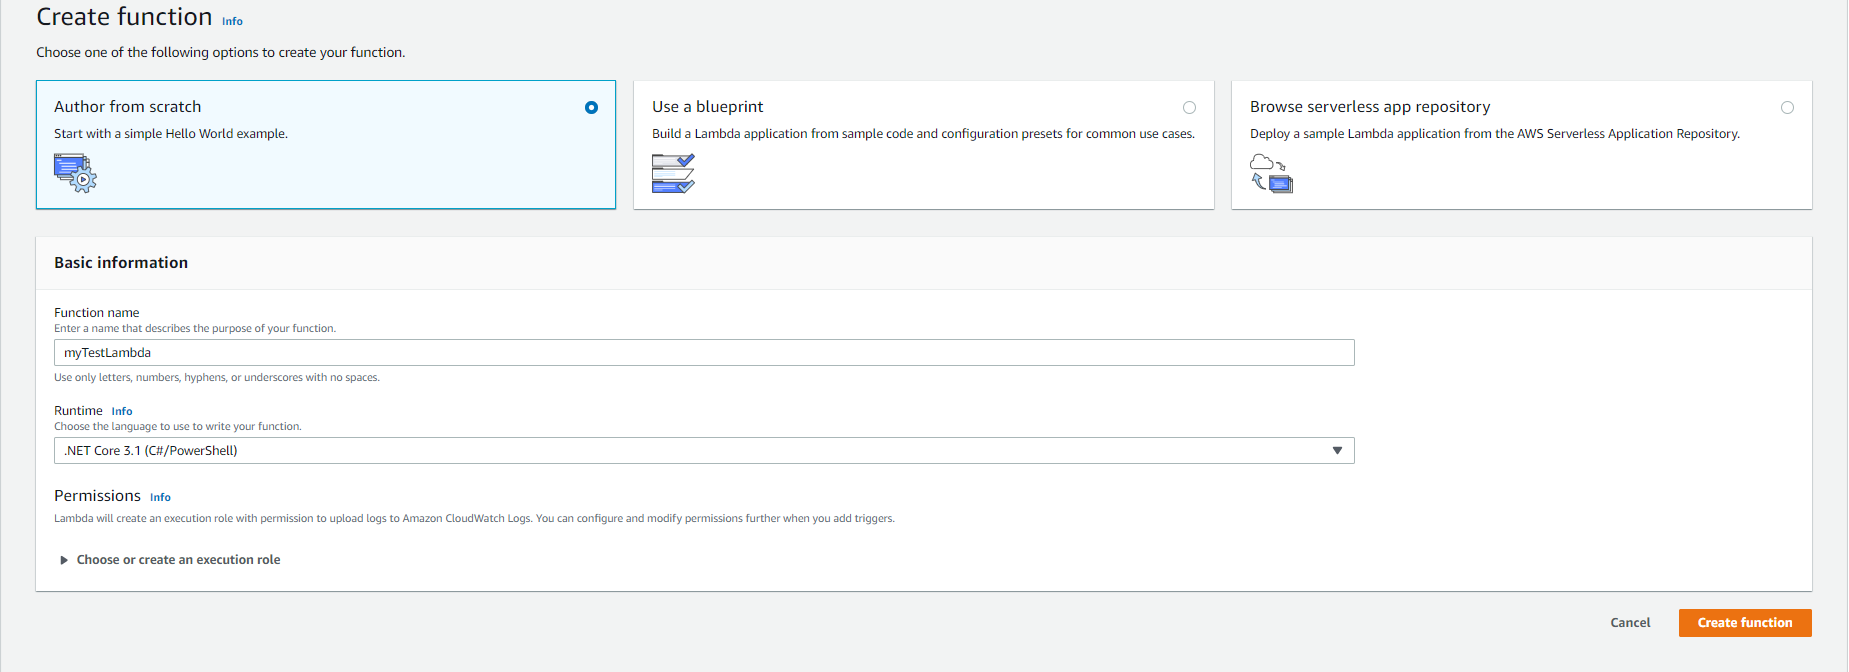
where your Lambdas in the selected region will appear. Click Create function and select Author from scratch. Enter the name of the Lambda and select the
runtime for the code (I will be using .NET Core 3.1). Click Create function.
There are a few additional settings we need to configure. For the Lambda to properly run the given code, we must set its Handler. The Handler indicates what function the Lambda should invoke when it is run. Under Basic Settings, click Edit. Set the Handler in the following format: projectNamespace::projectNamespace.ClassName::functionName. For example, if the project is called LambdaTest, the class is called Lambda, and the function you want the Lambda to run is called Start, the Handler would be LambdaTest::LambdaTest.Lambda::Start. You will also want to set the Timeout for the Lambda, the amount of time the Lambda has to finish running before it is forcibly stopped. Click Save.

Configure Lambda Role
For your Lambda to have permission to access other AWS services, its role must have the correct policies assigned to it. A role is a grouping of policies, which are permissions that allow access to AWS features. For now, we will assign it a basic set of policies that most Lambdas should have. On the Lambda’s page, select the Permissions tab and select the Role under Execution Role. The following page shows all of the policies attached to the Lambda’s role. Click ‘Attach policies’. Select AWSLambdaRole and click Attach policy. This policy allows the Lambda to invoke the Lambda. When you need your Lambda to access other services in AWS, you must attach the necessary policies to its role.
Build an AWS Lambda through Visual Studio
A Lambda
without actual code is useless. Luckily, it is very easy to quickly build a
Lambda using Visual Studio. Open Visual Studio and select Create a new project.
Search for Lambda and select AWS Lambda Project (.NET Core – C#) and click
Next. Enter the Project name and the Location and click Create.

For the blueprint, select Empty Function and click Finish. Next, we need to install a few NuGet packages. In Visual Studio, select Tools, then NuGet Package Manager, then Manage NuGet Packages for Solution. Select Browse and search for and install AWSSDK.Core. This is necessary for various AWS functions. Also search for and install System.Configuration.ConfigurationManager, which is used to get the Lambda’s permissions.
Publish the Code to Lambda
For the Lambda to run the code, it must be published. To do this, right click the project in Solution Explorer and select Publish to AWS Lambda. If you haven’t already, create your AWS Account Profile by pressing the Add account button and entering a Profile Name, your AWS Account Access Key ID, and your AWS Account Secret Access Key. Click OK. Select the Region that the Lambda was created in and select the Function Name of the Lambda. Set the Assembly Name as the Solution Name. Set the Type Name as follows: AssemblyName.ClassName. Set the Method Name as the Function you want the Lambda to call. These fields should align with the Handler you set for the Lambda. Click Upload. Your Lambda now has code to run!

Create a Schedule
One of the main reasons to use a Lambda is to have it run on a time basis. To do this, select Add trigger under Designer. Set EventBridge (CloudWatch Events) as the trigger. For Rule, select Create a new rule. Enter a Rule name and set the Schedule expression (a cron expression with no seconds). Check Enable trigger and click Add. The Lambda will now run automatically based on the cron expression. You can also use other triggers to have the Lambda run when other AWS events occur.
Asynchronous
invocation
Lambdas can be run asynchronously if invoked through the console or asynchronously through code. If you plan on doing so, there are two settings you will want to change. When a Lambda is created, its Asynchronous Timeout is set to 6 hours and its number of retries is set to 2. To change these, go to the Lambda’s page in AWS Console and select Edit under Asynchronous Invocation. To change the Timeout, set the Maximum age of event to the desired amount of time. Set Retry attempts to 0, 1, or 2 and click Save.

Comments
Post a Comment